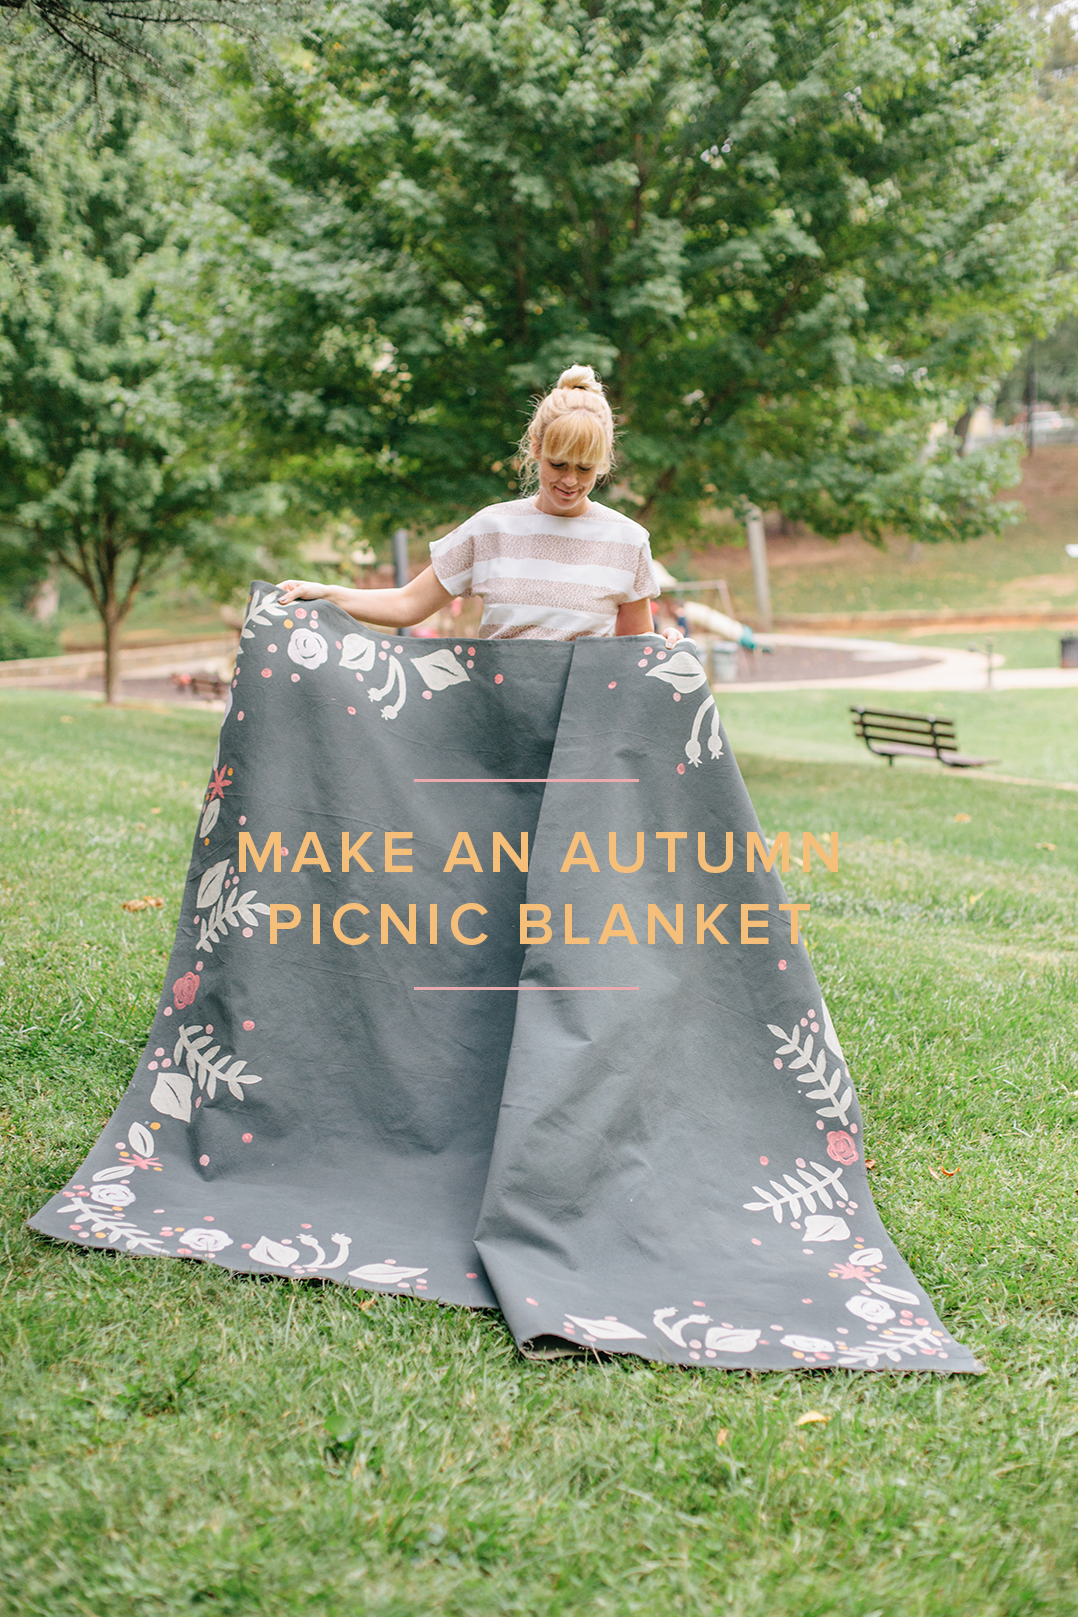
DIY autumn picnic blanket
As we grasp for the last days of sun, and breath in the cool, crisp air, I find myself wanting to be outside as much as possible before the shift to Winter. This DIY picnic blanket is the perfect way to bundle up your kiddos and head to a park, trail, or a hay ride. While I love the vivid fall colors, rich with deep variations of orange and red, I wanted to play with a softer tone of autumn to change it up a bit.

- drop cloth canvas
- scissors
- acrylic paint in preferred colors
- large paint brush
- craft paint brushes
- primer
- iron
- plastic tarp/disposable surface
1. Drop cloth canvas comes in various sizes, we started with an 8×10 and cut it down to the preferred size.
2. Ironing out the folded creases before painting makes the process easier- use lots of water and steam to smooth the heavy fabric.
3. Use a plastic tarp beneath the drop cloth, or lay out on a surface that is disposable so as to keep paint from seeping through.
4. We chose gray as our base color, but you can chose any you like. Use the large brush to paint the canvas entirely. It sometimes help to add 2:1 water to the paint to cover the canvas and thick weave. It helps to paint the underside of the canvas with primer to make it more water-resistant.
5. Allow canvas to dry for a few hours, directing a fan helps to speed up the process. Once dry, check to see if a second coat is necessary or if there’s just small spots needed to touch up.
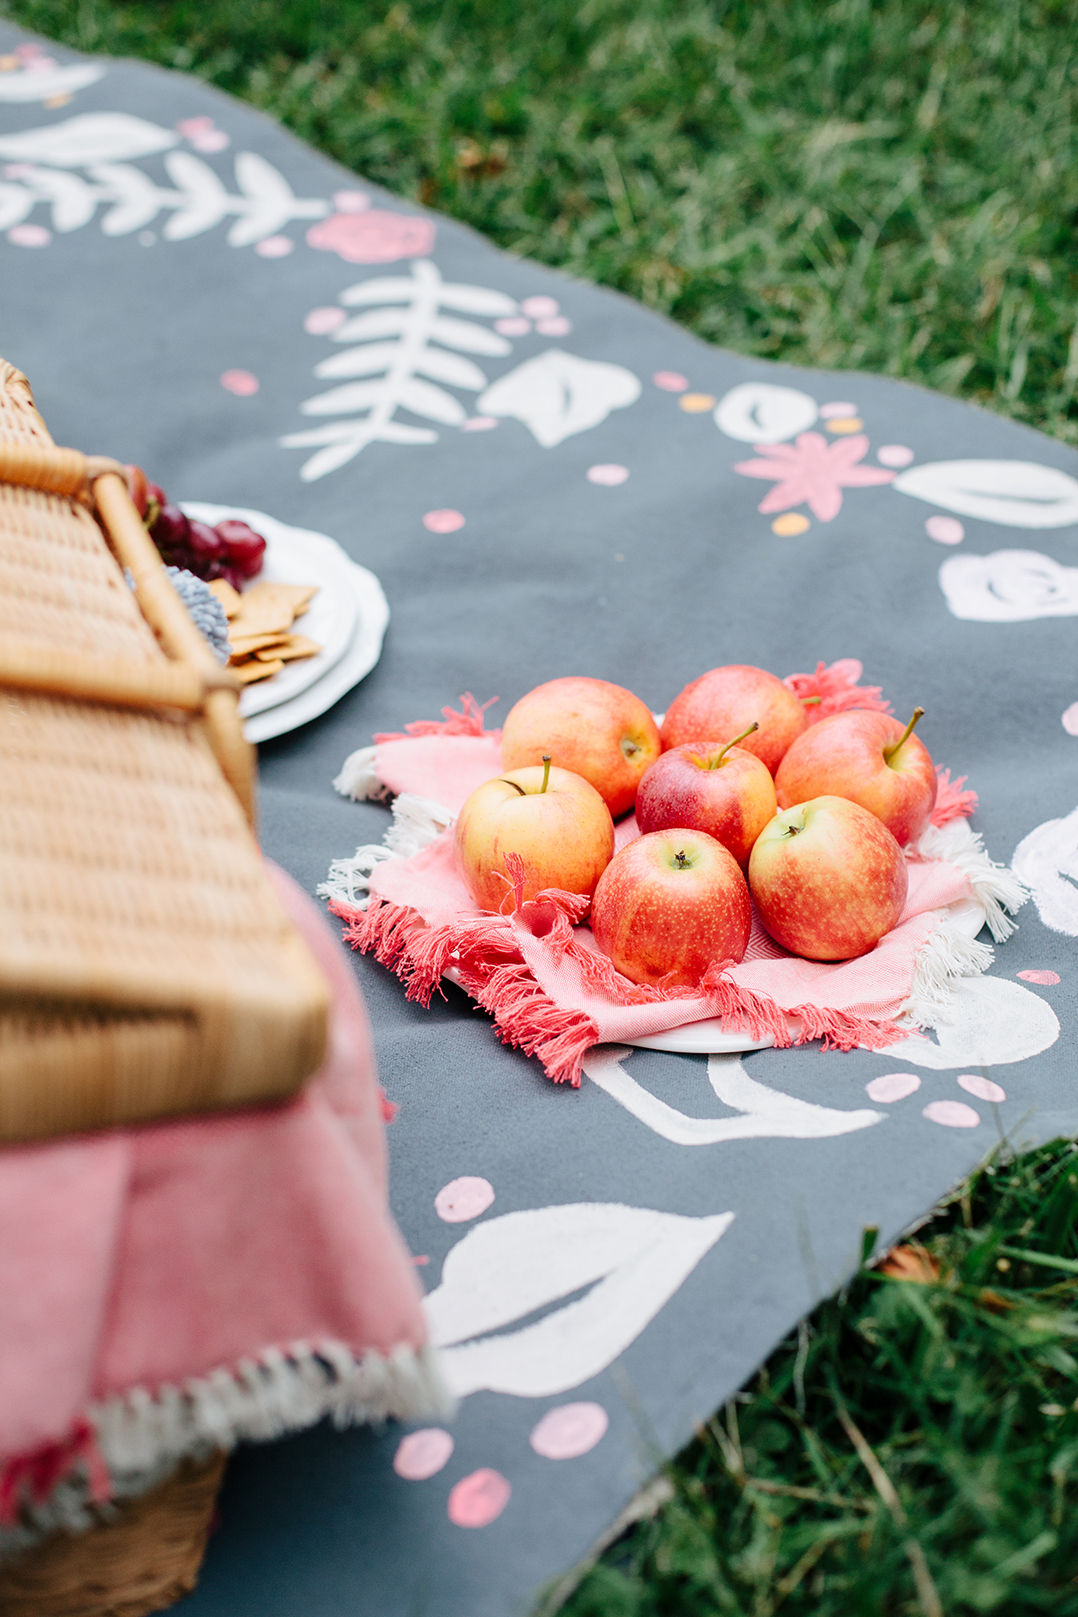
6. Use the templates provided, cut the shapes out and stencil onto the canvas. When you send these to print, you can scale them to get various sizes. We created a border to line the edges of the picnic blanket, but get creative and have fun, what kind of design can you lay out with these templates?
7. Use the craft paint brushes to brush the lighter colors onto the stenciled shapes. We used a dry brush to get a feathered edge to the florals, but if you dip the brush in water before dipping in paint, it will give you a clean, smooth outline.
8. Add dots of colors to fill in areas around the stenciled shapes to help soften the layout and create a playful design.
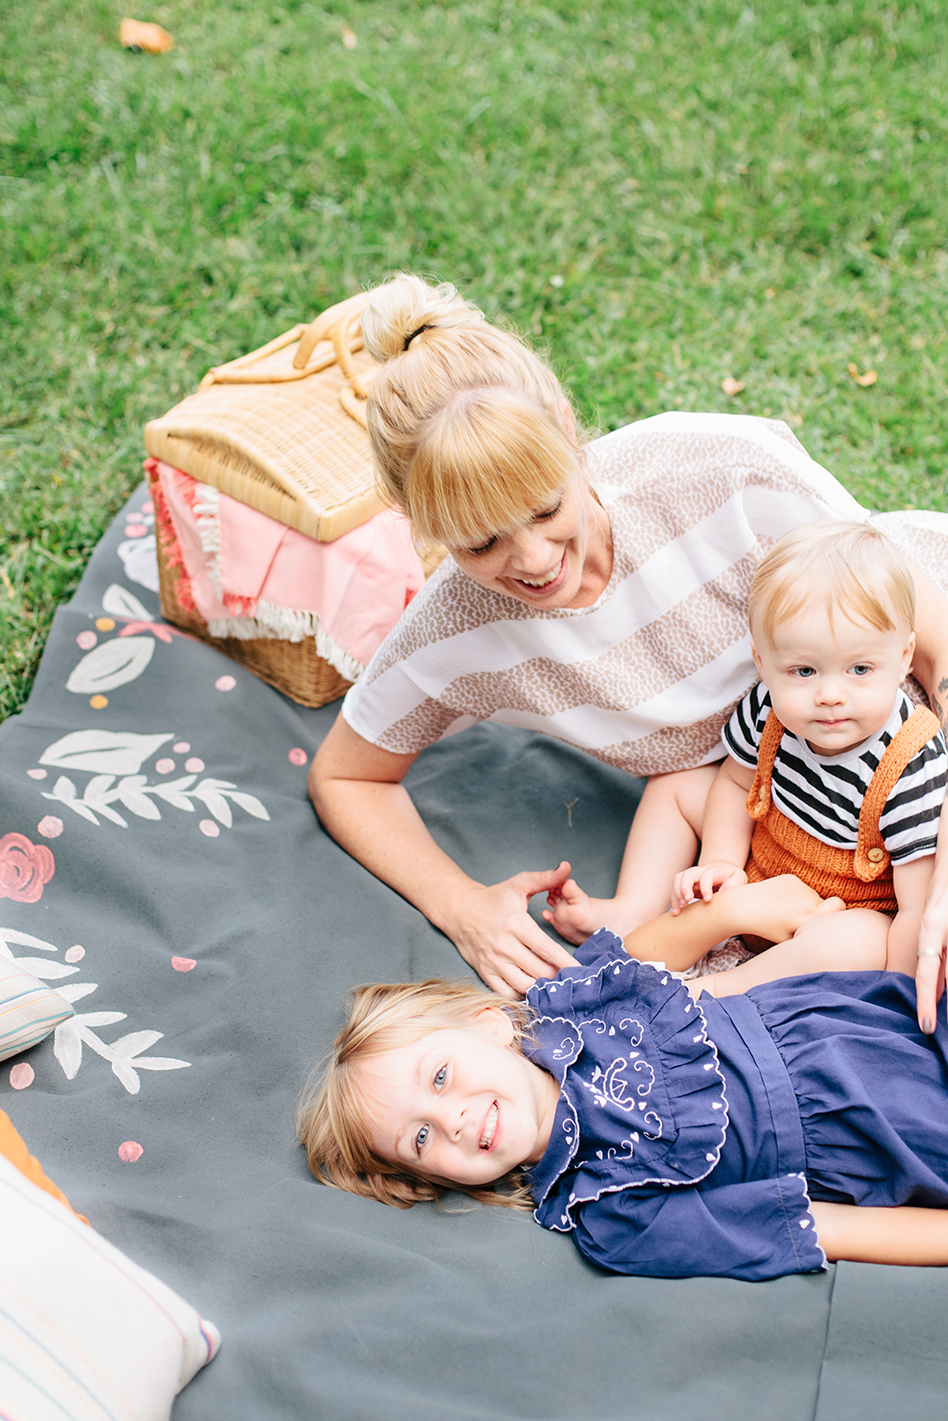
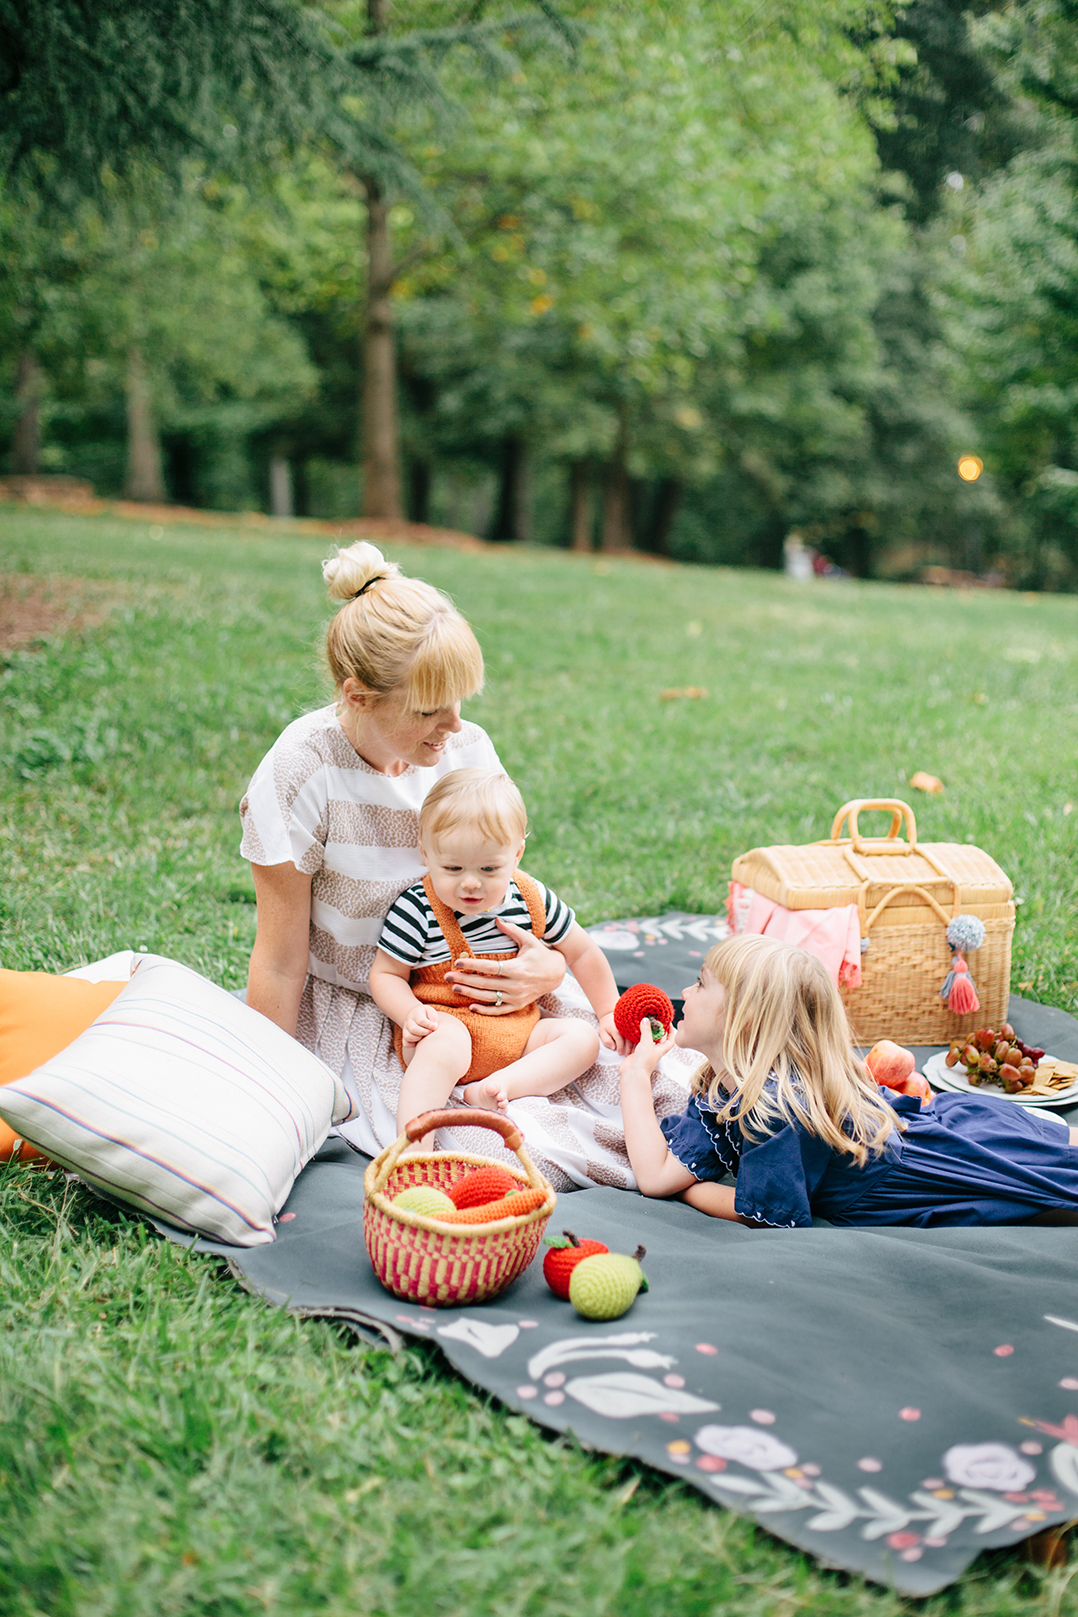
9. Let dry for an hour or so, then head to your favorite Autumn spot with some snacks and games!


Original article and pictures take thehousethatlarsbuilt.com site
Комментариев нет:
Отправить комментарий