
Paint vinyl floors to give your room a fun fresh update!
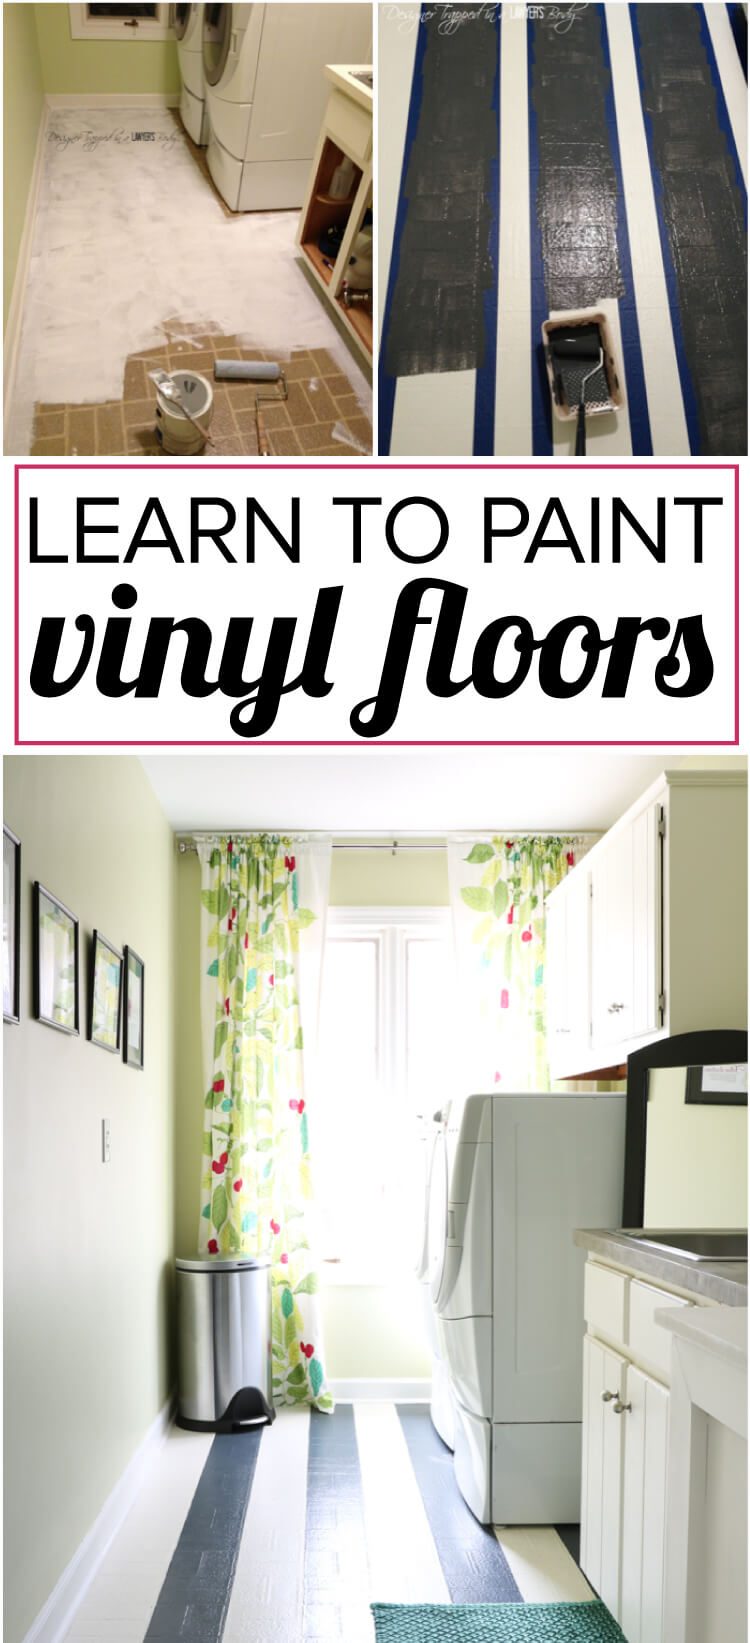
Do you have old, outdated vinyl floors but no budget to replace them? FEAR NOT! You can totally transform them on a tiny budget. Read on to learn how to paint vinyl floors. And don't worry–painting vinyl floors is a super durable option if you use the right supplies. Mine have been painted for over 4 years and are still gorgeous!
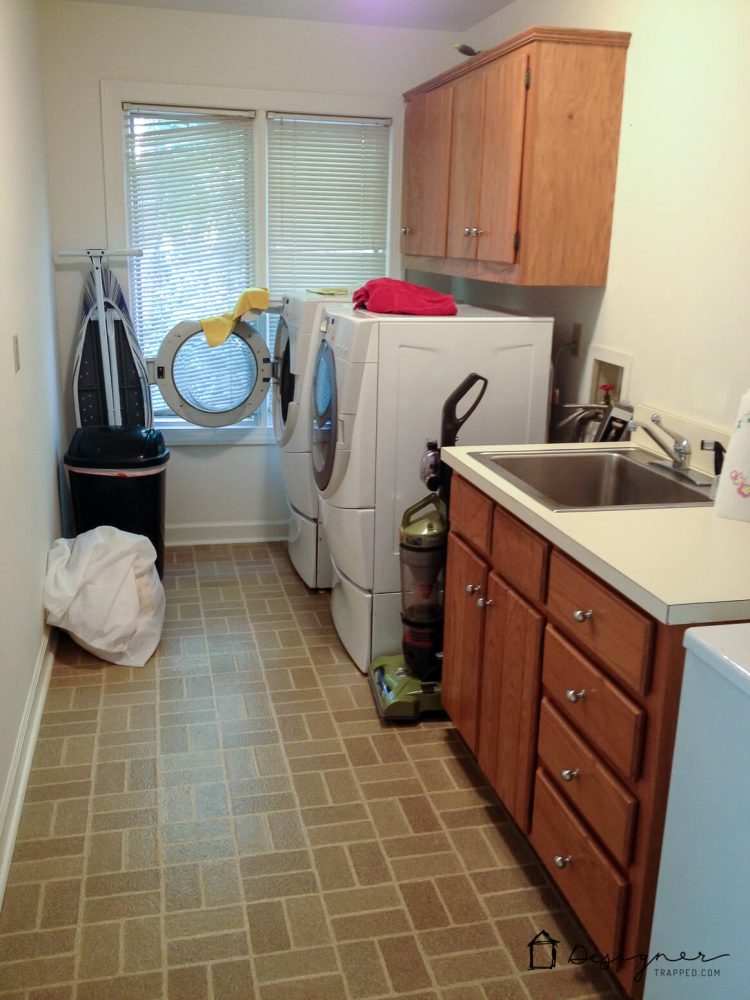
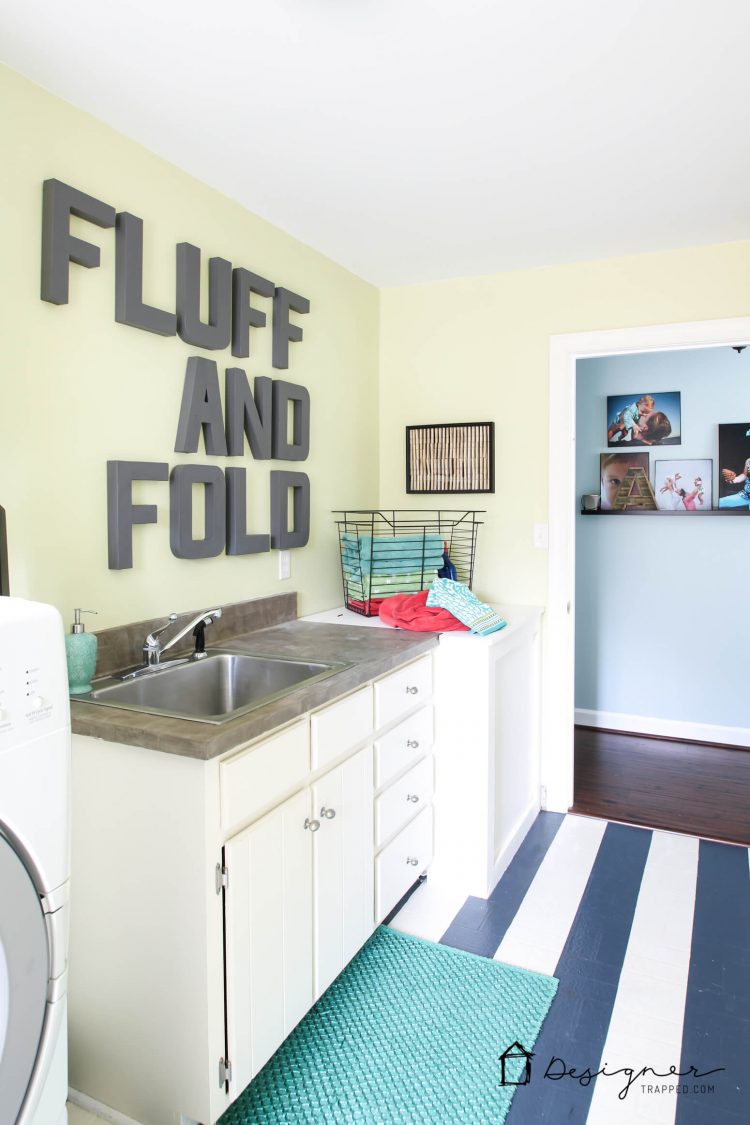
Many of you have already checked out my $71.00 laundry room DIY renovation. One of my favorite parts of my laundry room renovation is the painted linoleum vinyl floor. UPDATE: It was recently pointed out to me on Pinterest (rather rudely) that linoleum is different than vinyl. I googled it and in fact, that is true. But, Google also informed me that even flooring stores use the terms interchangeably. In any event, technically, my floors are VINYL. My painted VINYL floors are are gorgeous and are holding up beautifully for over 4 years now! No chipping or peeling. I'm amazed!
Now, let's review what the floor looked like BEFORE I painted it. Ummm…yuck.
Steps to Paint Vinyl Floors:
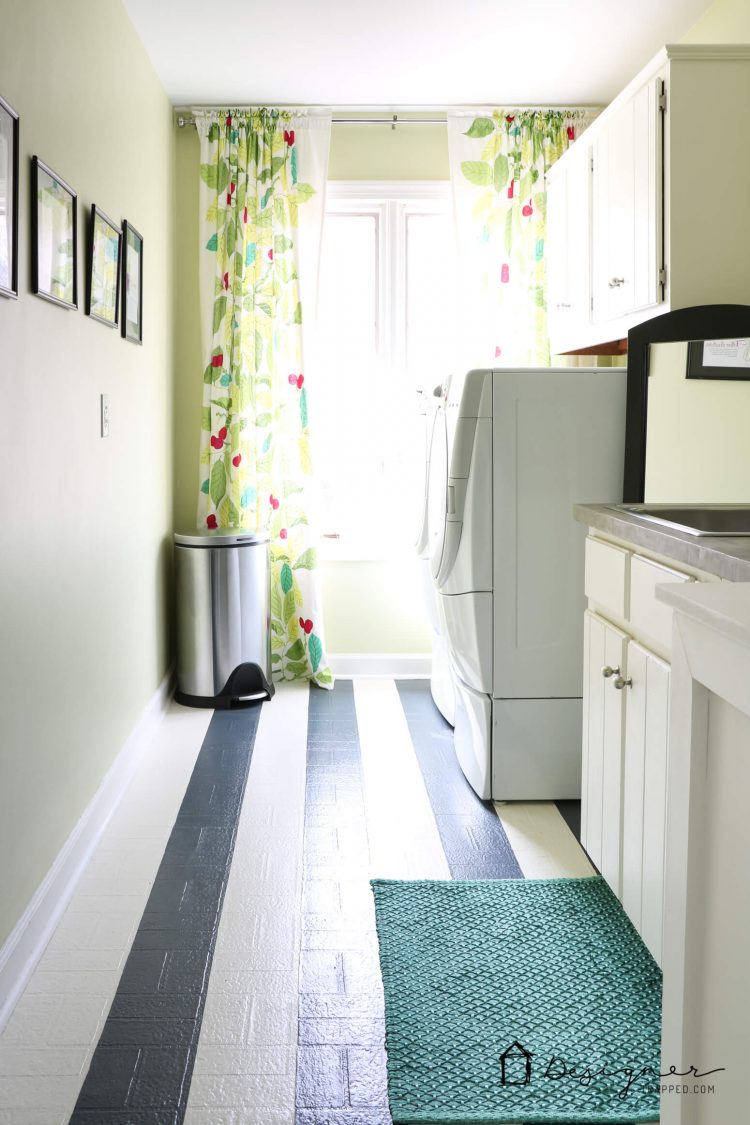
1) Select the pattern and colors to use- I opted for a striped pattern, much like Kelly used. Instead of going with deep black and stark white, I wanted a softer look, so I used an antique white and charcoal grey. I purchased 1 quart of each color in Valspar at Lowe's. Be SURE to purchase porch and floor paint. It is durable and is intended for foot traffic.
2) Clear and clean the floor area- I was lucky that our laundry room was large enough to scoot the washer and dryer in and out of position to paint the floor underneath it. But, if you are not so lucky, you will have to move those bad boys somewhere else for a few days. After you clear the floor, you need to clean the floor. Make sure it is clear of dust and dirt. Some people recommend using TSP (a heavy duty cleaner), but I did not have any on hand, so I used my normal floor cleaner (I use Mrs. Meyer's All Purpose Cleaner).
3) Prime the floor- I used regular old KILZ General Purpose Interior Primer to prime the entire floor. I poured the primer directly on the floor and used a small paint roller to spread it. I only used one coat of primer and that worked just fine. I did it around 9pm one night and let it dry overnight.
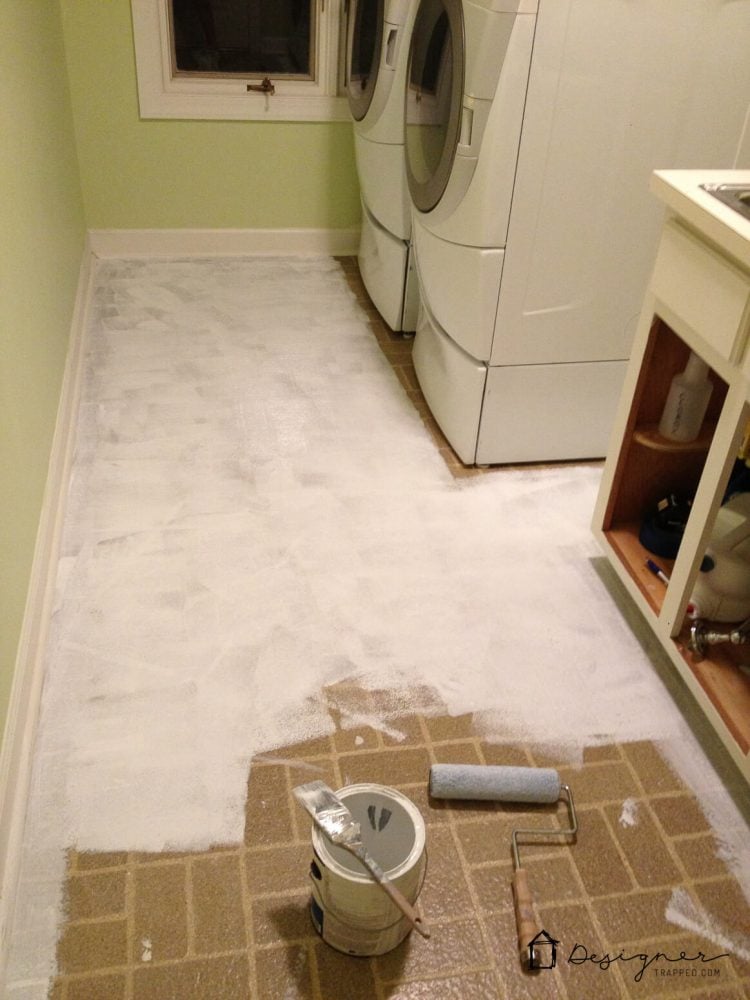
4) Paint the floor– This steps has several “sub-steps”:
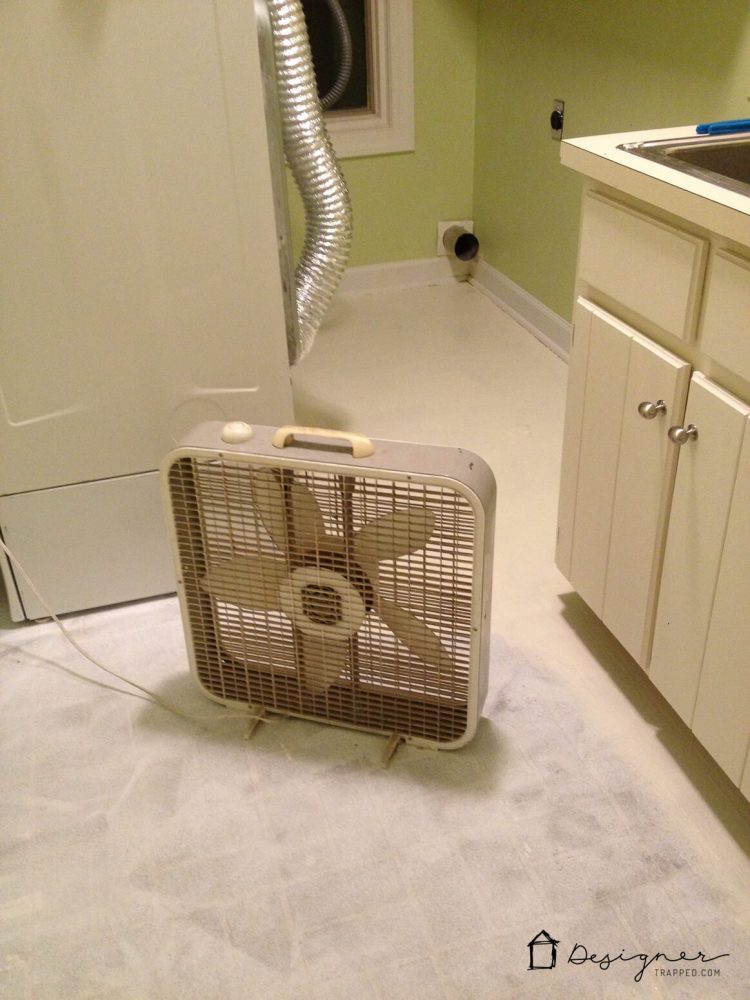
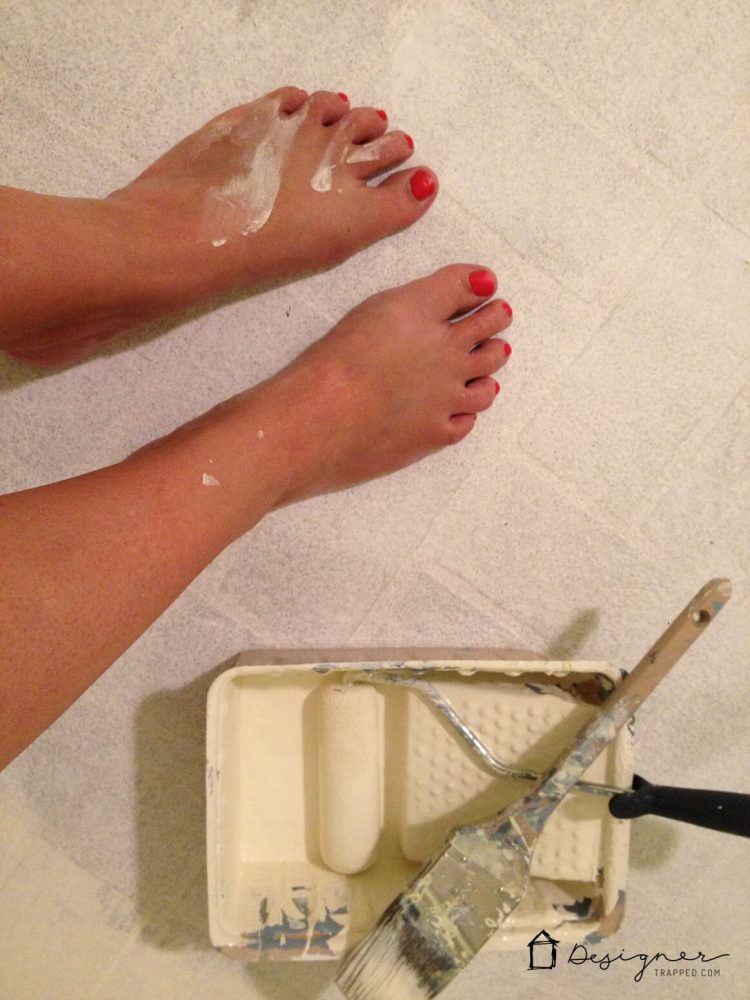
- After letting the primer dry overnight, I painted the entire floor with the antique white color, which I considered my “base” color, twice. That's right, two coats. Fortunately, this paint dries pretty quickly, but I did use a large box fan to speed the process along. I was able to get these two coats done in one day. Then, I let the base color dry overnight. I am not going to lie, this was kind of a messy project. Be prepared to scrub your feet :)
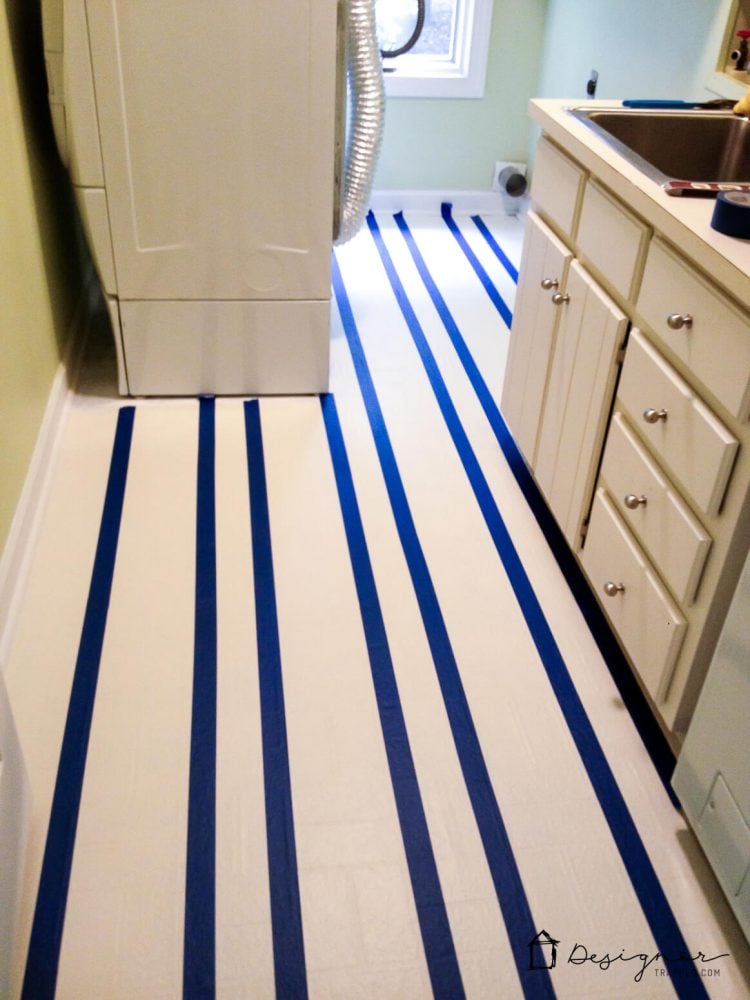
- The following night, I taped off my stripes using regular blue painter's tape. I used the existing brick pattern to determine the width of my stripes, which eliminated the need to measure first. Note that my floor had some definite texture to it, so I knew bleeding would happen, but I just rolled with it. I knew it would be an easy fix later. However, if you absolutely want to avoid bleeding, follow this step: After taping your floors, add one more coat of your base color over the entire floor–paint OVER the tape. That will seal the crisp lines and prevent any bleeding. Trust me, it works on textured surfaces.
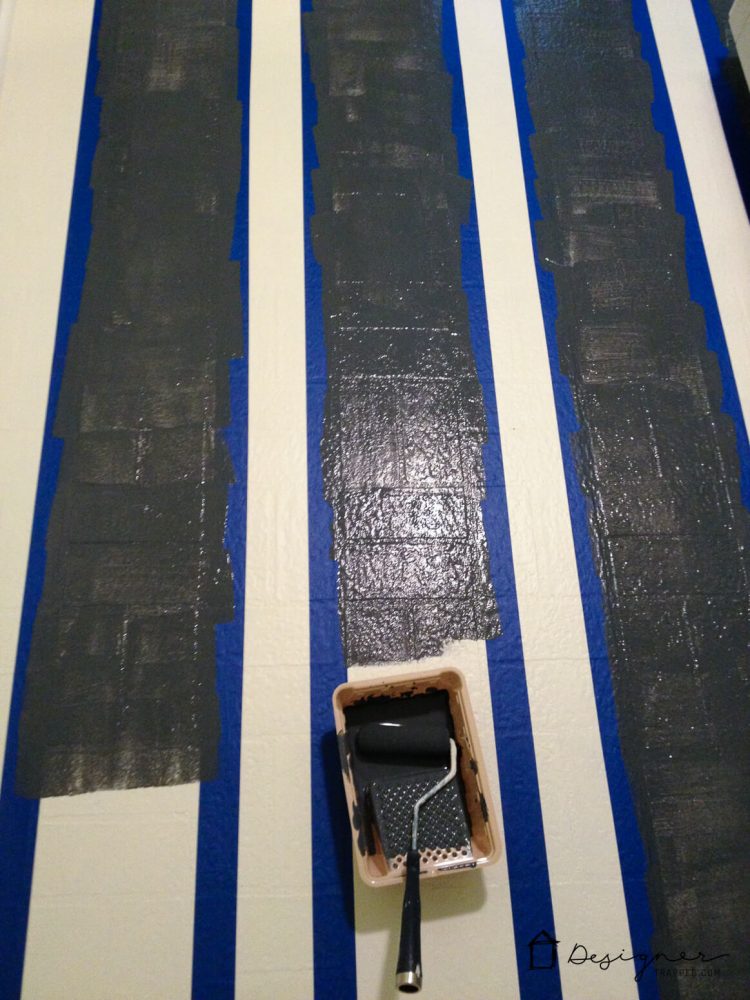
- Next, I painted the stripes with my secondary color–dark grey. I also painted two coats with the charcoal grey color. I let the first coat dry overnight (mostly because it was late) and completed the second coat the next night.
- Once your stripes are dry, remove the tape. If you have some bleeding, do not panic. Just grab an angled paint brush and use it to “cut in” along the stripes to make them nice and crisp. It sounds tedious, but this step took me less than 15 minutes.
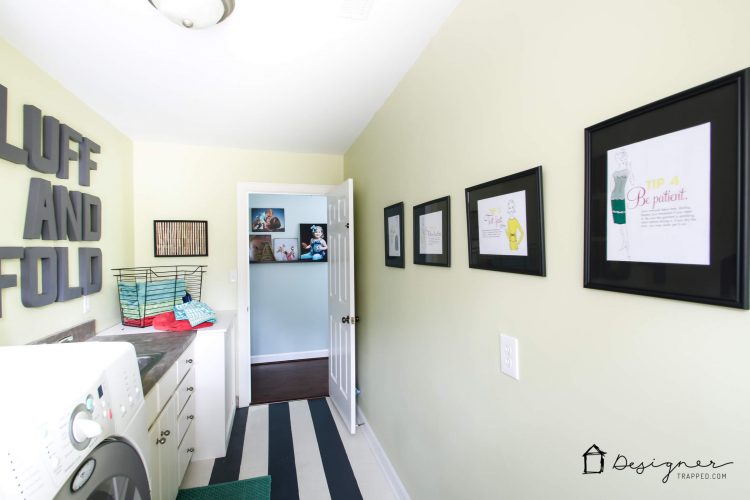
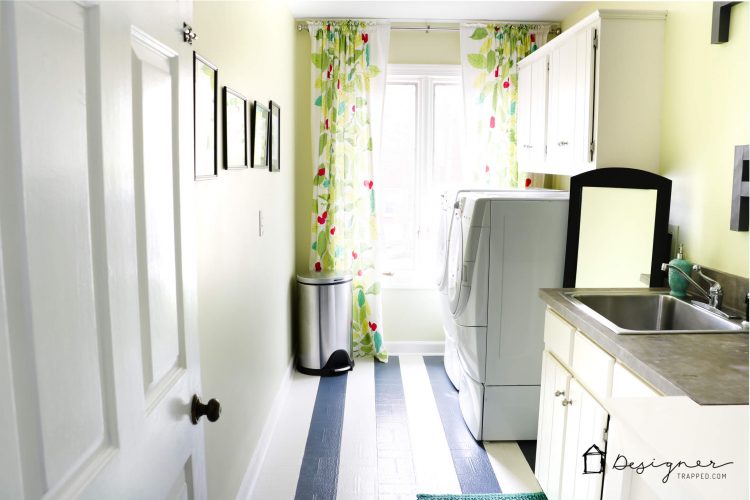
That's it! Now you know how to paint vinyl floors. It sounds like a lot of steps (and it is), but each step takes no more than 10 to 20 minutes. I found painting my floor moved FAR more quickly than painting walls. I think all of the steps combined took me less than 2 hours (excluding drying time). In other words, it was easy to knock out in the evenings after work without being too exhausted the next day.
The end result is G.O.R.G.E.O.U.S! Painting our vinyl floors is the MOST WORTHWHILE 2 HOURS OF MY DIY LIFE! I absolutely love, love, love this floor. UPDATE: It has been painted for over 4 years now and it is holding up perfectly. We have not “babied” it at all. We are as rough on it as we have ever been–laundry baskets get scooted across it, etc. and there is no damage or scratching whatsoever from daily use. We did have to remove and replace the water heater at one point and the floor did get scraped in one area when the plumber dragged the old water heater out, but that was understandable and was easy to touch up.
If you want to tackle this project yourself, why not make it easier by being able to print the instructions?! Just click below to grab your free printable instructions :)

What do you think? Are you tempted to paint vinyl floors now?! Have you already painted a vinyl floor? If you do tackle this project (or have already), I'd love for you to shared photos over on my Facebook page! And if you enjoyed this post, you may also love to see how I painted and stenciled our kitchen floors with awesome results!
If you want to save this tutorial for later, be sure to pin it!
Before you head out, be sure to fill out the form below to have full, PRINTABLE instructions for this project emailed to you :)
AND, if you want to pick the perfect paint colors for your home ever time, be sure to grab my free guide below!

Original article and pictures take www.designertrapped.com site
Комментариев нет:
Отправить комментарий